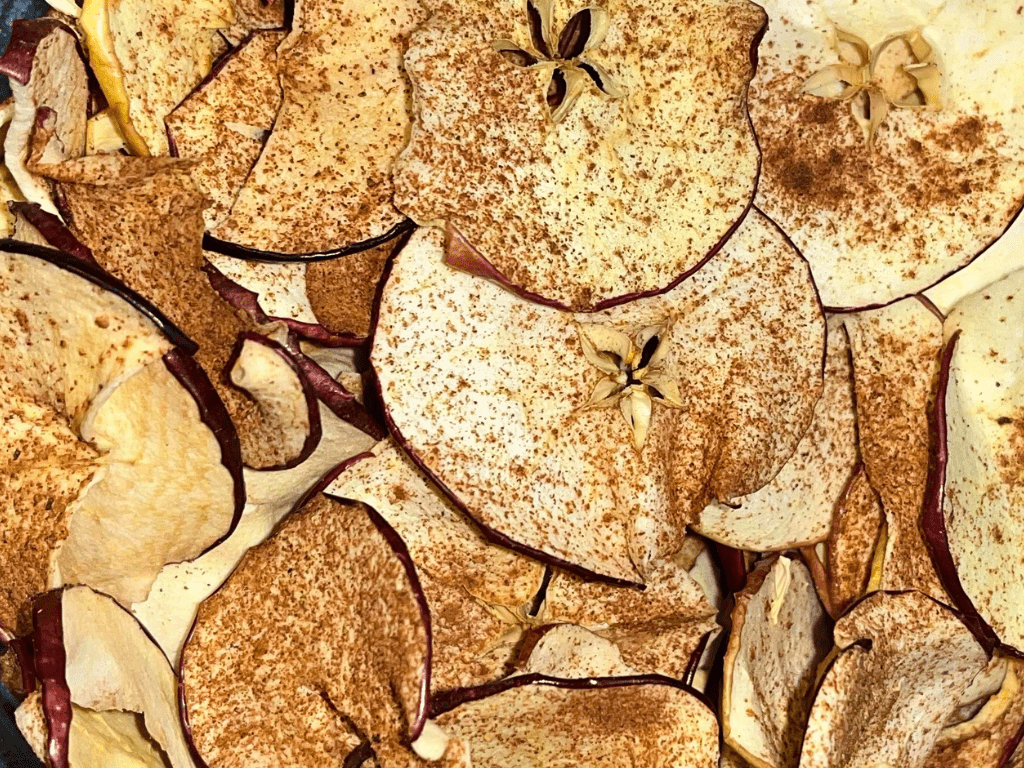
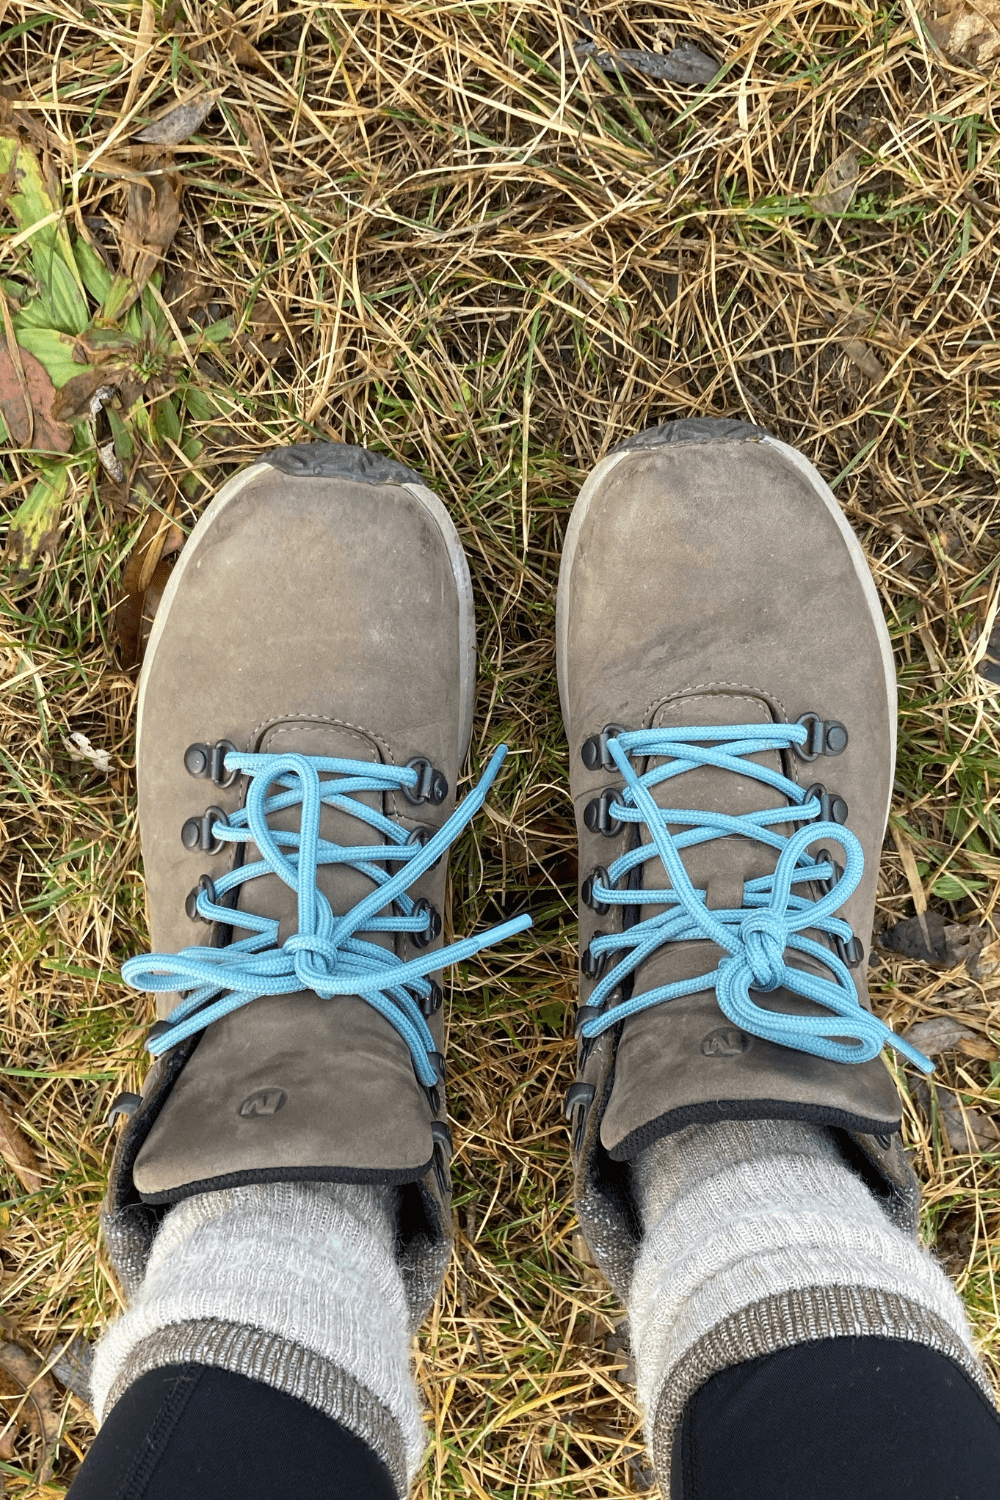
Dehydrated apple chips are not only easy to make, but also provide a healthy, convenient snack option for any outdoor adventure! In this post, we’ll explore why dehydrated apples are the perfect snack for hiking, how simple they are to make, and ways you can bring them along on your next hike.

Benefits
Dehydrated apple chips offer many benefits that make them an ideal snack choice, especially for outdoor activities like hiking. Here are a few reasons why they stand out:
- Portable and Lightweight: Dehydrated apples are lightweight and compact, making them easy to pack in your backpack without adding extra weight. They won’t weigh you down during your hike, allowing you to stay energized on the trail.
- Nutrients: Despite their small size, dehydrated apples are packed with essential nutrients, including fiber, vitamins, and minerals. They provide a quick boost of energy to keep you going during long hikes without the need for processed snacks.
- Long Shelf Life: Dehydrating apples removes the moisture content, which helps extend their shelf life significantly. You can prepare a batch ahead of time and store them in an airtight container for weeks or even months, ensuring you always have a nutritious snack on hand.
- Naturally Sweet: Dehydrated apples retain their natural sweetness and flavor, making them a delicious treat that satisfies your cravings without resorting to sugar. They offer a crisp bite, leaving you feeling satisfied on the trail.
How to Make Dehydrated Apple Chips | Recipe
How to Make Dehydrated Apples:
Making your own dehydrated apples at home is incredibly easy and requires minimal ingredients and equipment. Here’s a simple recipe to get you started:
Equipment:
Ingredients:
- Apples (any kind)
- Lemon/Citrus juice (optional, to prevent browning)
- Nutmeg (optional)
- Cinnamon (optional)
Instructions:
- Wash and slice the apples into thin, uniform slices, removing the core and seeds.
- Optional: Cover the apple slices in citrus juice to prevent them from browning (I used fresh squeezed oranges, but you can use lemon, lime, or any other citrus).
- Arrange the apple slices in a single layer on a dehydrator tray.
- Set the dehydrator to 135°F (or follow the manufacturer’s instructions) and let the apples dehydrate for 8-12 hours, or until they are dry and crispy.
- Once dehydrated, allow the apples to cool completely before storing them in an airtight container.

Dehydrated Apple Chips
Equipment
- Dehydrator
Ingredients
- 4 apples (any kind) thinly sliced
- 1 orange (or any citrus) squeezed
- 1 tsp cinnamon (optional)
- 1 tsp apple pie spice (optional)
Instructions
- Cut the apples into thin, uniform slices.
- Remove seeds and stems.
- Cover with any citrus juice. (to prevent browning)
- Place into a single layer onto dehydrator trays.
- Sprinkle cinnamon and apple pie spice. (optional)
- Dehydrate at 135° for 8-12 hours or until desired crispiness.
How to Pack
Bringing Dehydrated Apples on a Hike: Now that you have dehydrated apple slices ready to go, here are a few ways you can bring them on your next hiking adventure:
- Pack them in resealable bags or small containers to keep them fresh and prevent them from getting crushed in your backpack.
- Combine dehydrated apples with nuts, seeds, granola, or other dry ingredients to create a healthy trail mix.
- Enjoy them on their own as a quick and convenient snack whenever you need a burst of energy, on or off the trail.
Conclusion
Dehydrated apple chips are not only a delicious and nutritious snack but also an excellent option for hiking. With their portability, long shelf life, and natural sweetness, they provide the perfect fuel to keep you energized and satisfied on the trail. Try making your own batch of dehydrated apples at home and bring them along on your next trip!
Did you like this recipe? Comment your favorite dehydrator recipe below!
Follow me on Pinterest!


Leave a Reply